How To Recover Sound From Screen Recording Iphone: Ultimate Guide
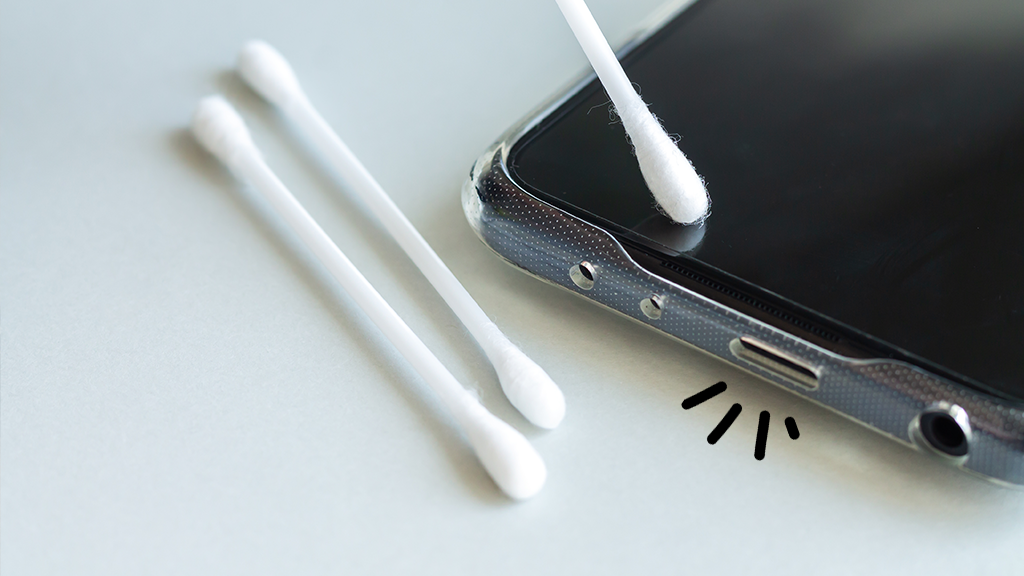
To recover sound from iPhone screen recording, adjust settings to select the appropriate audio source. For gameplay or app sounds, choose Device audio; for narration or commentary, select Microphone. Additionally, you can try third-party software tools claiming to fix audio in screen recordings if you encounter playback sound issues post-recording. Remember to adjust the audio source settings before initiating a screen recording on your iPhone to ensure that the sound is captured effectively. By following these guidelines, you can optimize the audio quality of your screen recordings on your iPhone. Credit: www.macrumors.com Possible Solutions Discover effective solutions for recovering sound from screen recordings on your iPhone. Learn how to adjust your screen recording settings, select the appropriate audio source, and explore third-party software options to fix audio in screen recordings. Check screen recording settings Select appropriate audio source Navigate to screen recorder settings Choose Device audio for gameplay, Microphone for narrations Credit: www.backblaze.com Specific Device Instructions Learn how to recover sound from screen recordings on your iPhone using simple instructions. Fix the issue by adjusting the screen recording settings and selecting the appropriate audio source, such as device audio or microphone. No need to worry about losing sound on your screen recordings anymore! Recover Sound on iPhone Recover Sound on Android Devices Check screen recording settings. Download Audio Extractor from Google Play Store. Select appropriate audio source. Complete installation. Choose Device audio for gameplay or app sounds. Open Audio Extractor and select saved recordings. Select Microphone for narrations or commentary. Go to Extract Audio section in the app. No sound on FaceTime screen recording? Extract audio from the recordings in storage. Preventive Measures To recover sound from iPhone screen recording, consider utilizing alternative recording methods if preventive measures fail. When recording, ensure that the audio source is properly selected based on the content—choose device audio for gaming or app sounds, and microphone for narrations or commentaries. Additionally, you can explore third-party software solutions claiming to fix audio in screen recordings that lacked sound. However, it’s important to note that once a screen recording is completed without sound, recovering the audio directly from the recording may be impossible according to some sources. It’s also important to consider utilizing the recording features within applications like Zoom, especially if capturing other important background sounds is crucial. Credit: www.macrumors.com Frequently Asked Questions On How To Recover Sound From Screen Recording Iphone How Do I Get The Sound Back On My Screen Recording? To get the sound back on your screen recording, check the recording settings. Select the appropriate audio source such as Device audio for gameplay or app sounds, and Microphone for narrations or external commentary. Adjusting these settings should help restore the sound to your screen recording. How Do I Restore The Sound From My Screen Recording On Facetime Iphone? To restore sound in your FaceTime iPhone screen recording, adjust settings to select appropriate audio source. Choose Device audio for gameplay, or Microphone for narrations. Can I Get The Audio From A Screen Recording? Yes, you can extract audio from a screen recording by adjusting the settings to include the audio source. How Do I Recover Audio From A Video On My Iphone? To recover audio from a video on your iPhone, check your screen recorder settings and choose the appropriate audio source. If the recording was done without sound, consider using third-party software to fix it. Alternatively, press and hold the screen recording button, then tap the microphone icon to turn it on. Conclusion Recovering sound from iPhone screen recordings may be challenging. Apple does not provide a reliable solution for this issue, but third-party software may help. Additionally, adjusting screen recording settings can prevent sound loss in the first place. By being proactive and exploring alternative solutions, users can ensure a smoother recording experience.